
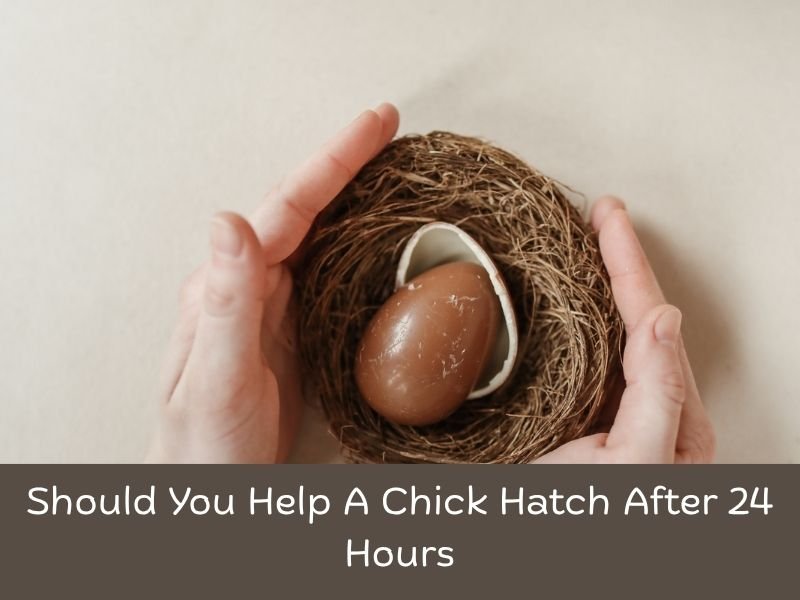
Bringing new life into the world is a remarkable experience, and for poultry keepers, watching chicks hatch is both exciting and nerve-wracking. However, when a chick struggles to emerge from its shell after 24 hours, the question arises: Should you intervene? Understanding the hatching process and the implications of assistance is crucial for making informed decisions.
The Natural Hatching Process
A chick’s journey from embryo to hatchling is a complex and delicate process. Typically, the hatching process unfolds in stages:
- Internal Pipping: Around day 19 of incubation, the chick breaks into the air cell within the egg, beginning to breathe air.
- External Pipping: Within the next 12 to 24 hours, the chick creates a small hole in the eggshell, known as the external pip.
- Zipping: The chick gradually rotates and pecks around the shell’s circumference, creating a “zip” line to facilitate emergence.
This entire process can take up to 24 hours or more. Patience is essential, as premature intervention can disrupt the chick’s natural development.
Why Some Chicks Take Longer to Hatch
Several factors can cause delays in the hatching process:
- Incubation Conditions: Fluctuations in temperature and humidity can affect the chick’s development and hatching timeline.
- Genetic Factors: Inherited traits may influence the chick’s strength and ability to hatch efficiently.
- Egg Characteristics: Thicker shells or improper positioning within the egg can hinder the chick’s progress.
It’s important to monitor the incubation environment closely. Research suggests that optimising temperature and humidity levels can improve hatching success rates.
Risks of Helping a Chick Hatch Too Early
Intervening prematurely can pose significant risks:
- Bleeding: The chick may have unabsorbed blood vessels in the membrane, leading to bleeding if disrupted.
- Yolk Sac Issues: The yolk sac provides essential nutrients; interfering before it’s fully absorbed can cause health problems.
- Developmental Problems: Assisting too soon can result in deformities or weakened chicks.
Allowing the chick to complete the hatching process naturally is generally the safest approach.
When (and How) to Consider Helping
Assistance should be a last resort. Consider intervening only if:
- Extended Delay: More than 24 hours have passed since external pipping with no progress.
- Distress Signs: The chick is peeping loudly or appears weak and unresponsive.
- Shrink-Wrapping: Low humidity can cause the membrane to dry out and constrict the chick, a condition known as shrink-wrapping.
If you decide to assist:
- Sanitize: Wash your hands thoroughly to prevent infection.
- Moisten the Membrane: Use warm water to soften the membrane gently.
- Careful Removal: Slowly peel back small pieces of the shell, avoiding blood vessels.
- Monitor: Allow the chick to push itself out once the obstruction is cleared.
Remember, minimal intervention is key.
Preventative Measures for Future Hatches
To reduce the likelihood of hatching issues:
- Maintain Optimal Conditions: Keep the incubator at the recommended temperature and humidity levels.
- Regular Monitoring: Check the incubator settings and egg development daily.
- Quality Breeding Stock: Select healthy, genetically robust birds for breeding.
Implementing these practices can enhance hatch rates and chick vitality.
Expert Opinions & Experiences
Poultry experts generally advise against assisting chicks unless necessary. Intervention should be based on clear signs of distress or failure to progress. Experienced breeders emphasise the importance of patience and careful observation.
For further guidance, consult reputable sources such as the Poultry Science Association or local agricultural extension services.
How to Safely Assist a Struggling Chick
When the decision is made to intervene, preparation is key. It’s critical to create a calm and sterile environment, minimising stress on both the chick and yourself.
Here’s a more detailed guide on how to assist, should it be truly necessary:
-
Create a Clean Workspace
Wash your hands thoroughly or wear sterile gloves. Use clean tools like tweezers, cotton swabs, or small scissors. Disinfect surfaces and tools with a non-toxic sanitiser. -
Assess the Situation
Hold the egg up to a strong light (candling) to check the position of the chick and the blood vessels in the membrane. If veins are still visible, it’s too early to help. -
Hydrate the Membrane
If the membrane is dry and the chick is stuck (shrink-wrapped), apply a warm, damp paper towel or a cotton swab soaked in warm water. Do not saturate the egg or let water seep inside. -
Begin a Partial Assist
Gently remove small parts of the shell around the porthole, being careful not to disturb the membrane too much. Allow the chick to do as much of the work as possible. -
Wait and Watch
After partial assistance, return the egg to the incubator and monitor. A chick that is ready will push out on its own. Only proceed further if absolutely no progress is made and the chick appears weak or trapped. -
Full Assist (Last Resort)
Only when the chick is fully ready—yolk absorbed, blood vessels gone, but physically unable to hatch—should you peel away more of the shell and membrane. Keep the chick warm and allow it to rest.
For a practical demonstration, the University of Florida IFAS Extension offers comprehensive guides on chick development and intervention procedures (UF IFAS).
Aftercare for a Helped Chick
A chick that requires assistance may be weaker or slower than its siblings, but it can still thrive with proper care.
-
Warmth and Hydration: Place the chick in the brooder at the correct temperature (95°F for the first week, decreasing gradually). Offer clean, warm water with electrolytes if needed.
-
Observe Behaviour: Healthy chicks will begin to move around and peck at food within a few hours. A struggling chick may need hand-feeding or further support.
-
Avoid Crowding: Keep a close eye on interactions with other chicks. Weak chicks can be trampled or bullied.
More information on post-hatch care can be found at Backyard Poultry, which frequently publishes helpful guides for new and experienced poultry owners.
Ethical Considerations in Helping Chicks Hatch
Helping a chick hatch isn’t just a technical task—it carries ethical implications. Some poultry keepers believe strongly in “survival of the fittest,” arguing that chicks too weak to hatch alone may not survive or thrive. Others feel a moral responsibility to help when possible, especially if human error (like poor incubator management) played a role in the problem.
There’s no single right answer—but consider these guiding principles:
-
Quality of Life: Will this chick likely grow into a healthy adult, or is it compromised from the start?
-
Your Role: Did environmental conditions (too low humidity, for example) play a role in the chick’s difficulty?
-
Experience: Are you prepared to give special care if the chick needs it?
Regardless of your approach, understanding the limits of intervention is essential. The Royal Society for the Prevention of Cruelty to Animals (RSPCA) offers advice on humane treatment of all animals, including poultry, in its guidelines on animal welfare (RSPCA).
Long-Term Lessons for Hatch Success
Every hatch, successful or not, is a learning opportunity. By keeping detailed notes and improving practices, poultry keepers can reduce the need for intervention in future hatches.
Here are some key takeaways:
-
Track Incubator Data: Log daily temperature and humidity levels, especially during the final three days when hatching begins.
-
Weigh and Candle Eggs: Monitoring egg weight loss can indicate if humidity is too high or too low. Candling helps track development and viability.
-
Select Strong Breeding Stock: Over time, choosing healthy, vigorous breeders will naturally improve hatch rates and reduce deformities or weak chicks.
-
Use Calibrated Thermometers and Hygrometers: Factory settings on incubators can be off. Always verify with secondary instruments.
You can find detailed best practices in hatching from organisations like the American Poultry Association and various agricultural university extension programs across the U.S. and the UK.
Conclusion
Helping a chick hatch after 24 hours is not a decision to make lightly. While sometimes necessary, intervention is fraught with risk and should be based on observation, timing, and understanding the natural process. When managed well, hatching chicks can be an incredibly rewarding part of poultry keeping—but it requires responsibility and knowledge.
Every time a chick struggles to hatch, ask yourself: is this nature’s course, or is something wrong that I can correct next time? That perspective will not only guide your choices today but help you become a more competent, compassionate, and prepared poultry keeper in the long run.
FAQs
Is it normal for chicks to take more than 24 hours to hatch?
Yes, it’s common for chicks to take up to 24 hours or more to complete the hatching process. Patience is essential.
What is shrink-wrapping, and how can I avoid it?
Shrink-wrapping occurs when the membrane dries out due to low humidity, constricting the chick. Maintain proper humidity levels in the incubator to prevent this.
Can a chick survive if I help it hatch?
While some chicks survive with assistance, premature or improper intervention can lead to complications. Only assist when necessary and with caution.
What do I do if the chick is stuck and not moving?
If a chick appears stuck and unresponsive, assess for signs of life. If alive, consider gentle assistance following proper guidelines. If in doubt, consult a veterinarian.